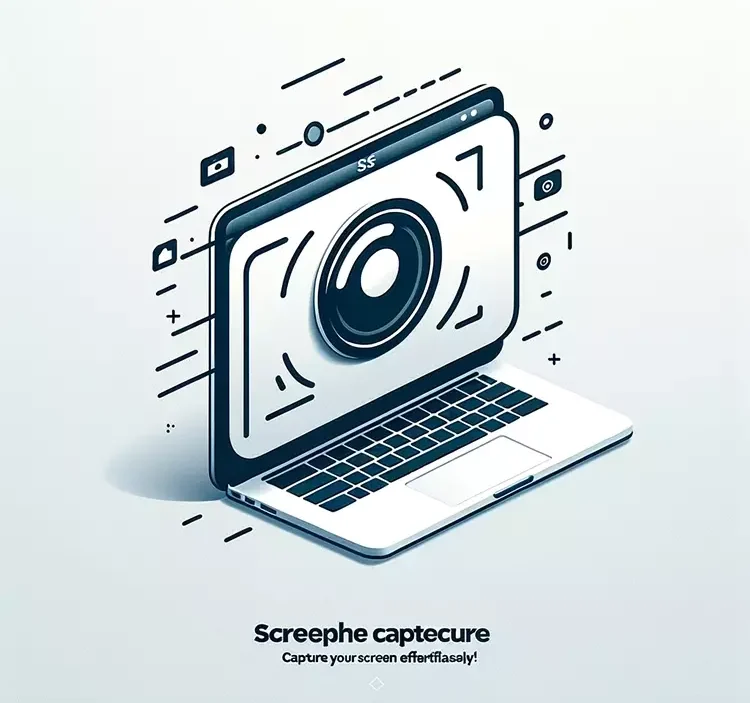
Are you wondering how to ss on MacBook? Whether it’s a fleeting moment, an important document, or a funny meme, capturing your screen can be crucial.
If you’re a MacBook user, be it on a MacBook Air or MacBook Pro, this guide is tailored for you.
We’ll walk you through the simple yet powerful ways to take screenshots on your MacBook, ensuring you never miss out on saving those important screen moments.
From basic commands to more advanced tricks, this article is your one-stop resource for all things related to MacBook screenshots.
How to SS on MacBook in the Simplest Way
Taking a screenshot on a MacBook is straightforward. Here are the steps of how to ss on MacBook:
1. For the Entire Screen: Press ‘Shift + Command + 3‘. This captures the entire screen, saving the screenshot to your desktop.
2. For a Portion of the Screen: Press ‘Shift + Command + 4‘. Your cursor changes to a crosshair, allowing you to select the area you want to capture.
3. For a Specific Window: Press ‘Shift + Command + 4‘, then hit the ‘Spacebar’. Your cursor becomes a camera icon. Hover over the window you wish to capture and click to take the screenshot.
Advanced Screenshot Techniques
1. Screenshot to Clipboard: If you prefer not to clutter your desktop with images, you can save screenshots directly to the clipboard. Press ‘Control‘ along with the other keys mentioned above.
For example, ‘Control + Shift + Command + 3‘ copies the entire screen to your clipboard
2. Timed Screenshots: Use the Screenshot app. You can find it using Spotlight (press ‘Command + Spacebar‘ and type “Screenshot”) or find it in the ‘Applications > Utilities‘ folder. This tool allows you to set a timer before the screenshot is taken.
Enhancing Screenshots With Editing and Annotating
Once you’ve taken your screenshot, you might want to edit or annotate it:
1. Preview: Open your screenshot with the Preview app. Here, you can add text, shapes, or use drawing tools.
2. Markup Toolbar in Finder: After taking a screenshot, a thumbnail appears temporarily in the corner of your screen. Click on it to open the markup toolbar, where you can edit the screenshot immediately.
Where Do Screenshots Go?
By default, screenshots are saved to the desktop. However, you can change this location:
- Open the Screenshot app
- Click ‘Options‘
- Choose your preferred save location from the list
How to Crop and Resize Screenshots
After taking a screenshot, you may want to adjust its size or focus on a specific part of the image:
- Open the screenshot using Preview
- Select the portion you want to keep using the selection tool
- Choose ‘Tools > Crop‘ or press ‘Command + K‘ to crop the image
- To resize, go to ‘Tools‘ > ‘Adjust Size‘, and enter your desired dimensions
Mastering the Art of Screenshot Shortcuts
Understanding MacBook screenshot shortcuts can significantly streamline your workflow:
- Entire Screen Shortcut: ‘Shift + Command + 3‘
- Portion of the Screen Shortcut: ‘Shift + Command + 4′
- Window Screenshot Shortcut: ‘Shift + Command + 4‘, then ‘Spacebar‘
- Screenshot to Clipboard: Add ‘Control‘ to any of the above combinations
3. Snipping and Editing Techniques on Mac
For those familiar with the Snipping Tool on Windows, Mac offers similar functionalities:
- Use ‘Shift + Command + 4‘ to select a specific area, akin to a snip
- For editing, open the screenshot and use the Markup Toolbar for quick annotations or edits
Troubleshooting Common Issues
Sometimes things don’t go as planned. Here’s how to tackle common screenshot issues:
- Not Working: Check if the keyboard shortcuts are enabled in ‘System Preferences > Keyboard > Shortcuts‘
- Clipboard Issues: If the screenshot isn’t pasting, try taking it again, ensuring you’re holding the ‘Control‘ key
- Editing Problems: Ensure you have the necessary permissions to edit the file, especially if it’s not saved on your desktop
How to Download Facebook Video [Up to 4K]
Already Know How to SS on MacBook? Do it Now!
Mastering the art of taking screenshots on your MacBook, whether it’s a MacBook Air or MacBook Pro, is a valuable skill.
It helps you capture important information, share moments, and even guide others through visual instructions.
With this guide, you’re now equipped to take, edit, and manage screenshots like a pro.
So go ahead, start capturing your screen in ways you never thought possible!


43 Pro Midjourney Prompts: Uncover the Secret to Creativity!
Script : Definition, Types, Examples & How to Create Them
7 Steps How To Buy Bitcoin on eToro – Act Fast!
49 Stunning Leonardo AI Prompts That Will Blow Your Mind